

Have you recently purchased a new vaporizer and want it to work perfectly for a long time? Or are you struggling with a dirty device that no longer delivers the usual vapor quality? In this comprehensive guide, we'll show you how to properly clean your vaporizer to ensure an optimal vaping experience. Regular cleaning of your vaporizer is not just a matter of aesthetics, but crucial for taste, efficiency, and even your health.
We guide you step by step through the entire cleaning process —from daily care to thorough deep cleaning. You will also learn how to work with simple household remedies and even recover valuable resin.
Whether you have a portable vape or a tabletop vaporizer, whether you are a beginner or an experienced user, this guide provides you with all the information you need to clean your vaporizer perfectly. Join us as we dive into the world of vaporizer care and discover how easy it can be to keep your device sparkling clean!
Why is regular cleaning of the vaporizer so important?
Regular cleaning of your vaporizer is not an optional luxury, but an absolute necessity if you want to enjoy the same high quality of inhalation as when you first started using it. But why exactly is caring for your device so important?
For an undisturbed, pure vapor taste
The most obvious reason for regular cleaning is taste. With each session, residues build up in your vaporizer, which impairs the taste of the vapor. If old residues remain in the device, they will be vaporized the next time you use it and will overpower the fresh aroma of your herbs. If you value an authentic taste experience, you should therefore pay attention to cleanliness.
Maintaining performance
Deposits and dirt can narrow or even block the airways. This means that your vaporizer can no longer perform at full capacity. The airflow is impeded, vaporization becomes uneven, and the efficiency of the device decreases. This can severely impair functionality, especially in convection vaporizers, which rely on optimal airflow.
Extension of service life
A clean vaporizer is a long-lasting vaporizer. Stubborn dirt can attack sensitive parts of the vaporizer over time and cause irreversible damage. It is therefore worth investing time in cleaning it regularly – this protects your investment and ensures that your device continues to work perfectly for a long time.
Do not underestimate health aspects
Last but not least, there are also health reasons for keeping your vaporizer clean. In an uncleaned vaporizer, bacteria can accumulate on the surface, which can be particularly problematic nowadays, especially when used by groups of people. Mold can also form if there are moist residues. To avoid defects and protect your health, regular cleaning is essential.
Efficiency and cost-effectiveness
A clean vaporizer works more efficiently and uses less material. When your device is working optimally, you need less herbs to achieve the desired effect. In the long run, you'll not only save time troubleshooting, but also money by using less material. Regularly cleaning your vaporizer is therefore not a chore, but a sensible investment in taste, performance, longevity, and health. In the next section, we'll show you how often you should clean your vaporizer and what signs indicate that it's time for cleaning.
How often should you clean a vaporizer?
There is no general answer to the question of how often you should clean your vaporizer— it depends on how often you use your device and what type of vaporizer you have. However, there are some guidelines that can help you develop an optimal cleaning routine.
Daily quick cleaning: the key to longevity
For those who use their vaporizer daily, we recommend a quick clean after each session. This only takes a few minutes, but prevents the accumulation of stubborn residue:
- Tapping out the heating chamber: Remove the used material while the vaporizer is still slightly warm—this makes it easier to loosen any residue.
- Brushing the chamber: Use the cleaning brush provided or a cotton swab to remove loose particles.
- Wipe the mouthpiece: Briefly wiping the mouthpiece with a cloth slightly moistened with isopropyl alcohol prevents germs from forming. This small routine after each use only takes about a minute, but makes a huge difference to the long-term care of your device.
Weekly basic cleaning: For consistent performance
Depending on how often you use it, you should clean your vaporizer more thoroughly about once or twice a week:
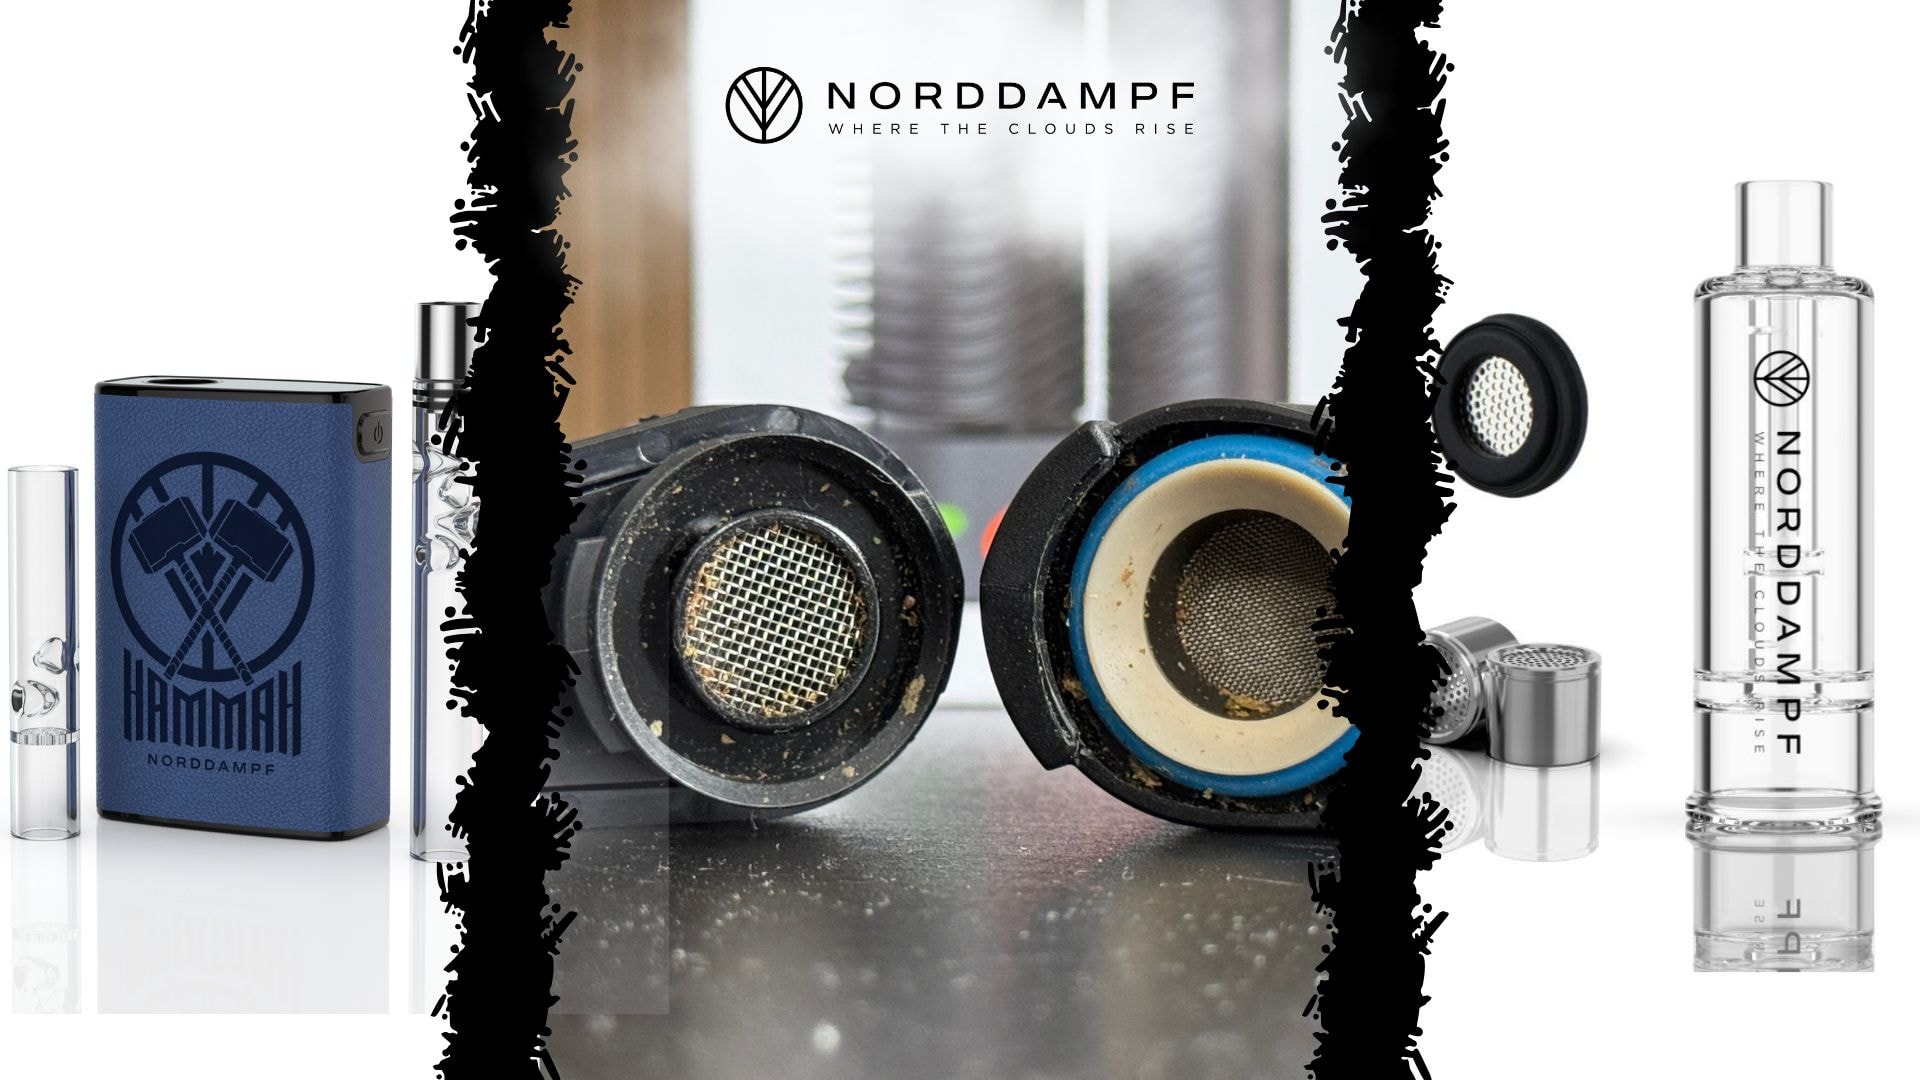
- Check and clean screens: Clogged screens significantly impair airflow.
- Clean the steam path: Use pipe cleaners or special cleaning brushes to remove deposits from the steam path.
- Check seals: Inspect all O-rings and seals for dirt and wipe them carefully.
This weekly cleaning takes about 5-10 minutes and ensures that your vaporizer consistently performs well.
Monthly deep cleaning: Back to like new
About once a month (or after 15-20 sessions), you should give your vaporizer a deep clean:
- Complete disassembly: Take apart all removable parts.
- Soak in isopropyl alcohol: Place metal parts, glass parts, and heat-resistant plastic parts in isopropyl alcohol for 30-60 minutes.
- Thorough rinsing and drying: After soaking, rinse all parts with clean water and allow them to dry completely.
- Check all components: Inspect all parts for damage or wear.
This monthly deep clean will restore your vaporizer to almost new condition and takes about 1-2 hours (mainly soaking time).
Signs that cleaning is needed
Regardless of your cleaning schedule, there are clear signs that your vaporizer urgently needs cleaning:
- Altered taste: When the vapor has an unpleasant or "burnt" taste.
- Reduced steam production: When the amount of steam is significantly lower than usual.
- Increased resistance to pulling: When pulling becomes more difficult or the airflow is restricted.
- Visible residue: If you see discoloration or sticky deposits.
- Uneven heating: When your material is no longer vaporizing evenly.
Pay attention to these warning signs and respond accordingly—this will help you prevent small problems from turning into major defects.
In the next section, we will show you which materials and cleaning agents are best suited for cleaning your vaporizer and what you should pay attention to when doing so.
What to clean your vaporizer with: Materials and cleaning agents
Choosing the right cleaning products is crucial for effective and safe cleaning of your vaporizer. With the right materials, cleaning is not only easier, but you also avoid damaging your device. Here you can find out which cleaning products are best suited and what alternatives are available.
Isopropyl alcohol: The gold standard
Isopropyl alcohol (also known as isopropanol or rubbing alcohol) with a concentration of 99% is absolutely essential for cleaning vaporizers. Why?
- High cleaning power: Effectively removes even stubborn resin and oil residues.
- Residue-free evaporation: Leaves no residue after drying.
- Disinfecting: Kills bacteria and germs, which is particularly important for shared devices.
Isopropyl alcohol is available in pharmacies, drugstores, or online. Make sure to choose the highest concentration possible (at least 90%, ideally 99%), as lower concentrations contain water, which takes longer to dry.
Important: Isopropyl alcohol is safe to use on metal, ceramic, and glass parts. However, you should not use isopropyl alcohol on wooden parts of the vaporizer, as it can dry out and damage the wood.
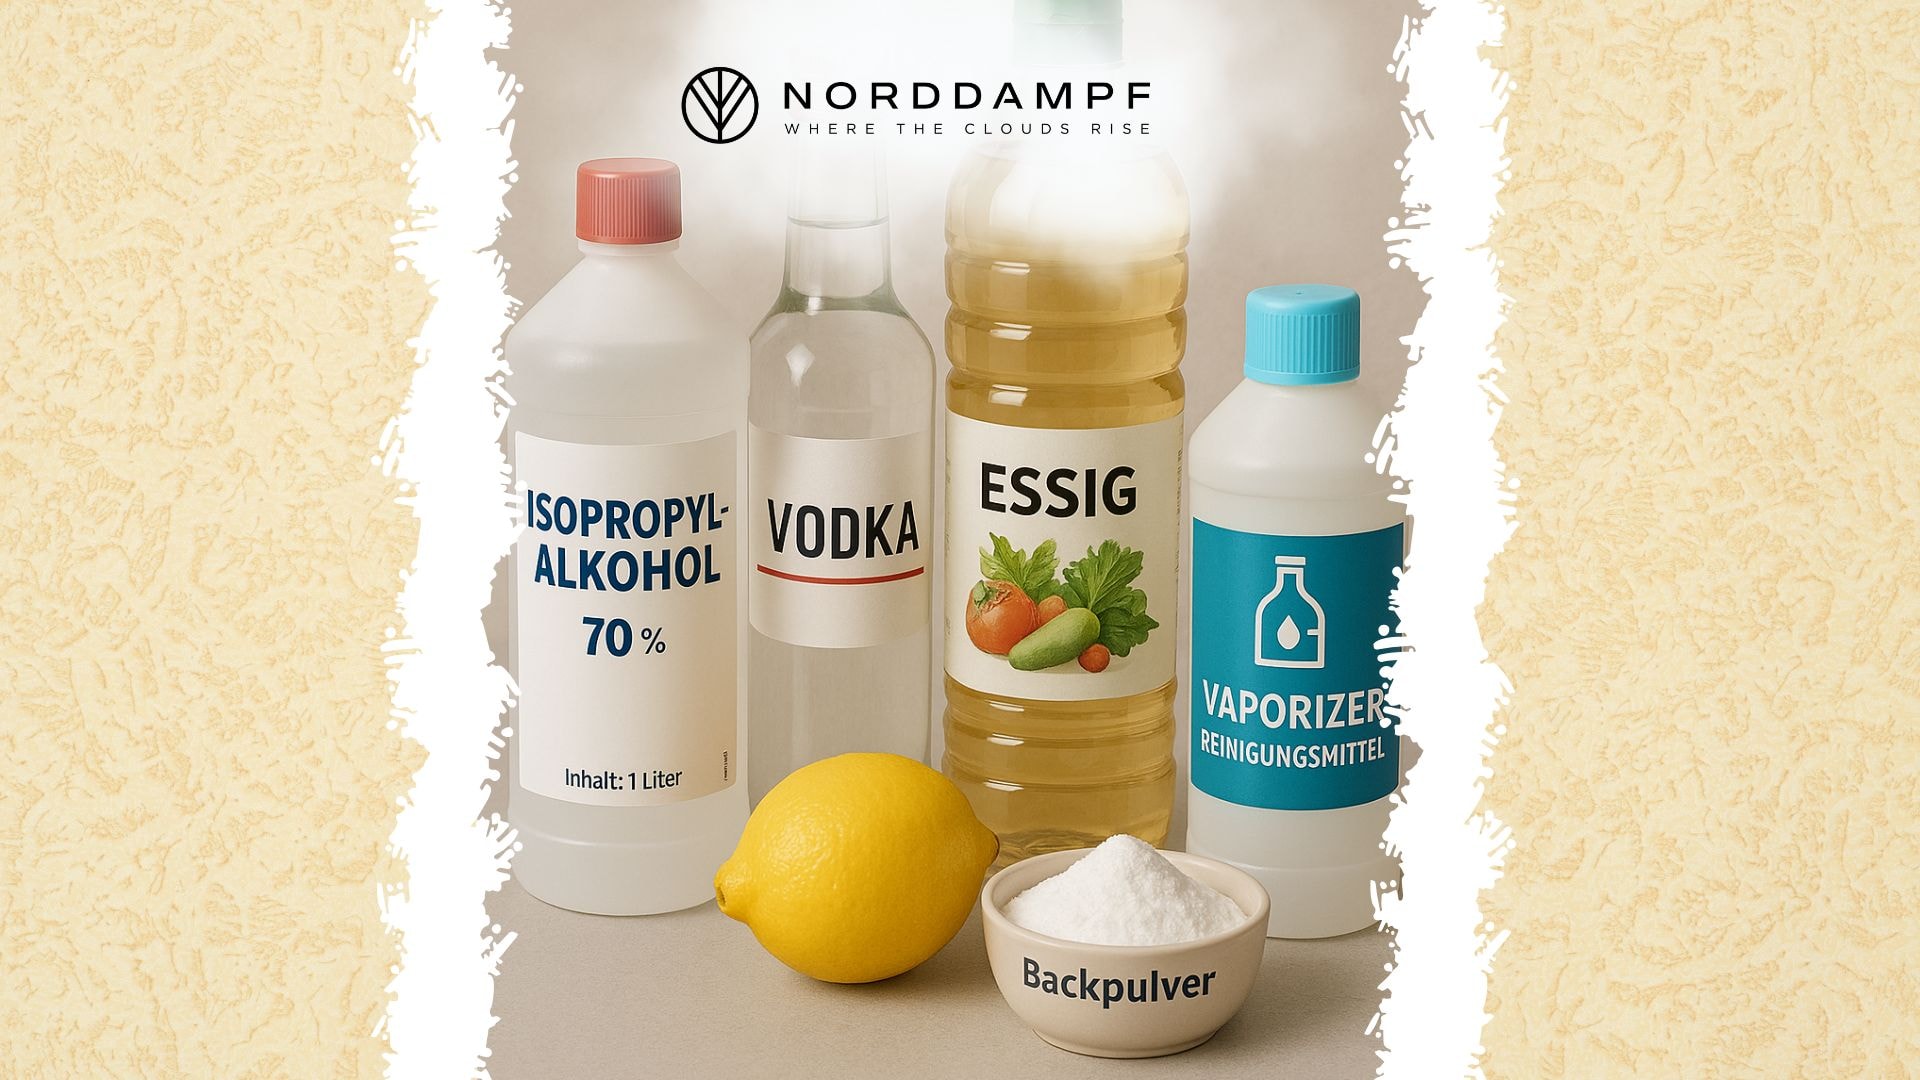
Cleaning vaporizers with household remedies: Alternatives to isopropyl alcohol
If you don't have isopropyl alcohol on hand or don't want to use it for other reasons, there are a few home remedies that can serve as alternatives:
High-proof alcohol (vodka, spirits)
- Vodka ( 40% alcohol content or higher): A milder alternative that is not as effective as isopropyl alcohol, but sufficient for light soiling.
- Note: The higher the alcohol content, the better the cleaning effect.
vinegar-water solution
- Mixing ratio: 1 part white vinegar to 1 part water.
- Advantages: Good for light soiling and particularly suitable for wooden elements.
- Disadvantages: Less effective on stubborn resin residues and leaves behind an odor, which dissipates quickly.
Lemon juice and baking powder
- Application: Make a paste from lemon juice and baking soda and apply to stained areas.
- Advantages: Natural cleaning without harsh chemicals.
- Disadvantages: More complicated to use and less effective on heavy soiling.
Special cleaning agents for vaporizers
There are also commercial cleaning solutions that have been specially developed for vaporizers:
- Vaporizer cleaning solutions: Often alcohol-based, but with additional cleaning components.
- Cleaning tabs: Handy for on the go, can be activated with water.
- Organic cleaners: Environmentally friendly, plant-based alternatives, particularly suitable for wooden elements.
Although these special cleaners are more expensive than isopropyl alcohol, they may be the better choice for certain materials or special requirements.
Required tools and aids
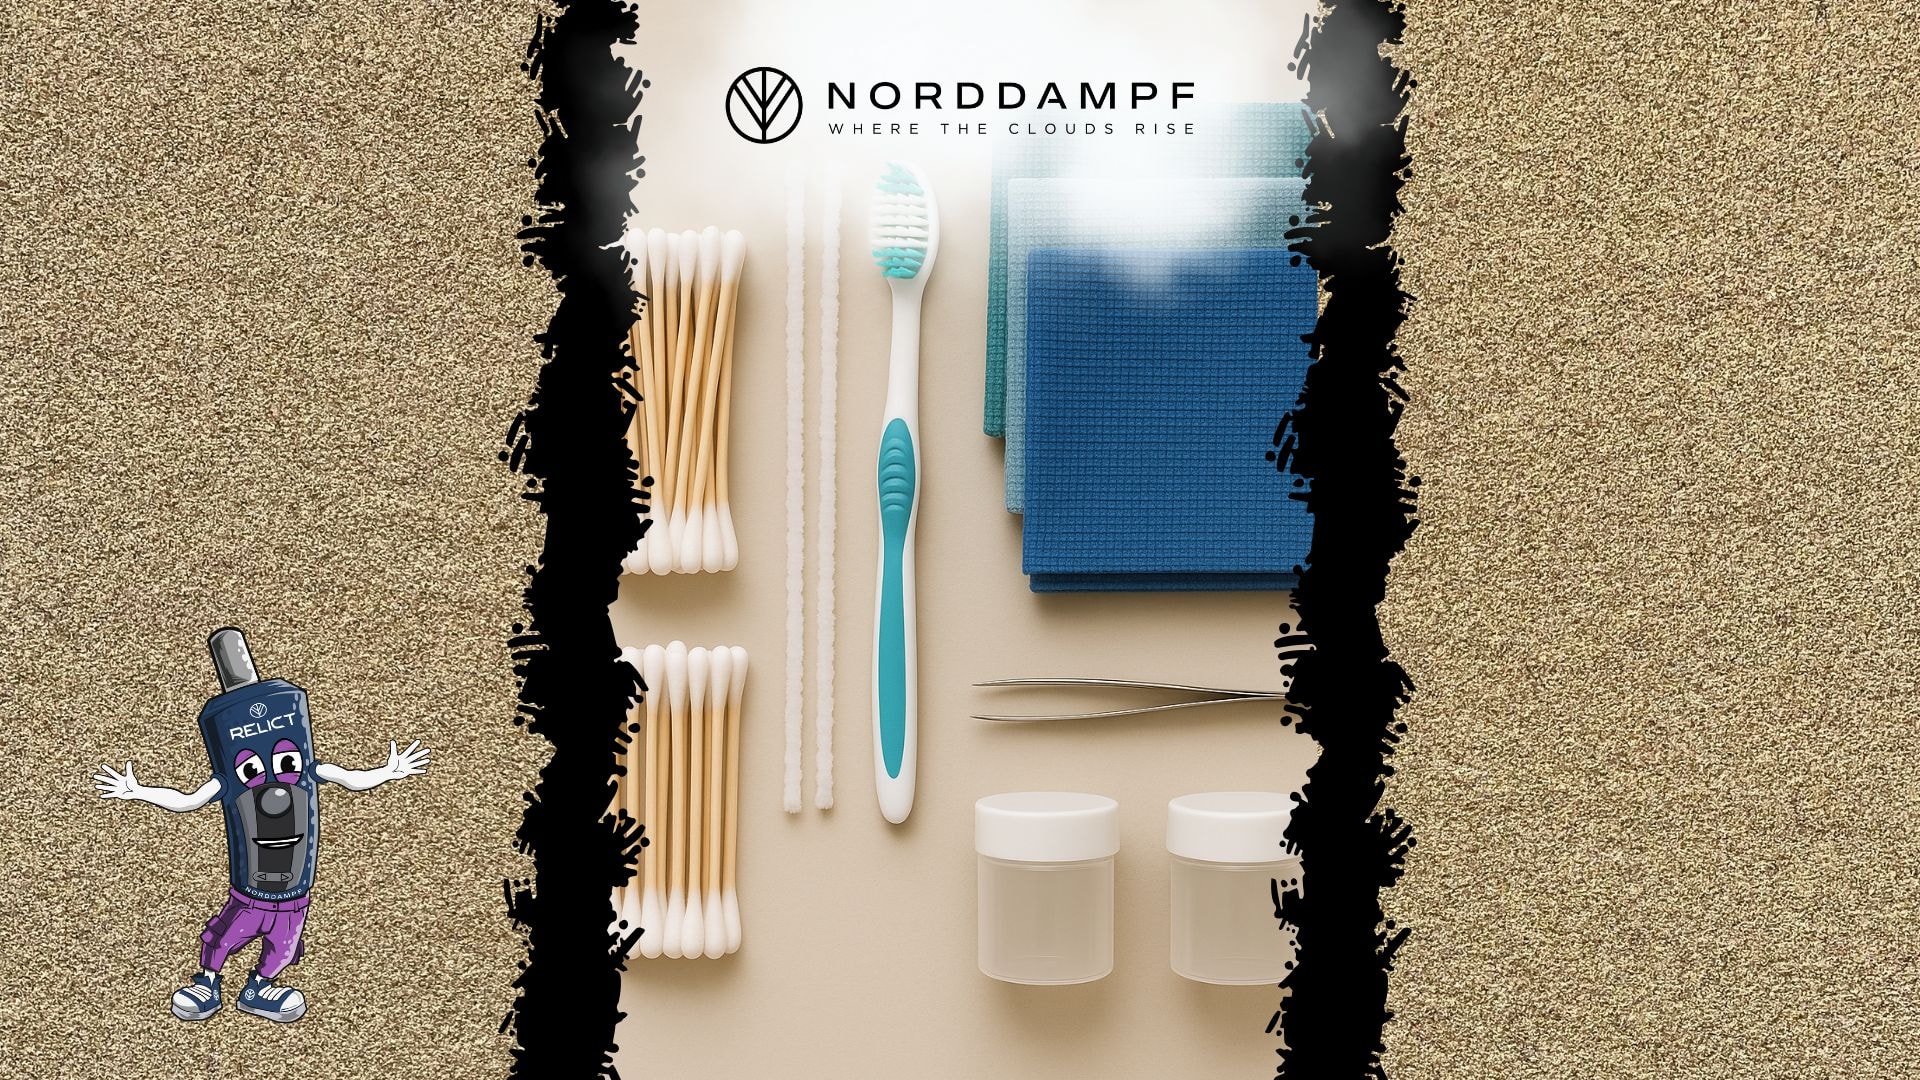
In addition to the cleaning agent itself, you will need a few tools for thorough cleaning:
- Cotton swabs: Ideal for hard-to-reach areas and the heating chamber.
- Pipe cleaners: Perfect for airways and vapor paths.
- Soft toothbrush: For stubborn dirt on non-sensitive surfaces.
- Microfiber cloths: Lint-free alternative to paper towels.
- Small containers: For soaking small parts.
- Tweezers: For removing and handling small parts such as sieves.
Materials you should avoid
Some cleaning agents can damage your vaporizer during cleaning and should therefore be avoided:
- Acetone or nail polish remover: May attack and dissolve plastic parts.
- Bleach: Too harsh and can cause discoloration.
- Abrasive cleaners: Can scratch surfaces, especially glass and plastic.
- WD-40 and other oils: Leave residues that could later evaporate.
With the right cleaning supplies and tools, cleaning your vaporizer becomes a simple routine. In the next section, we'll show you how to use these materials correctly to clean your vaporizer step by step.

How to clean your vaporizer properly: step-by-step instructions
Cleaning your vaporizer properly is not rocket science, but it does require a systematic approach. With these detailed step-by-step instructions, you can thoroughly clean your vaporizer and restore it to its former glory.
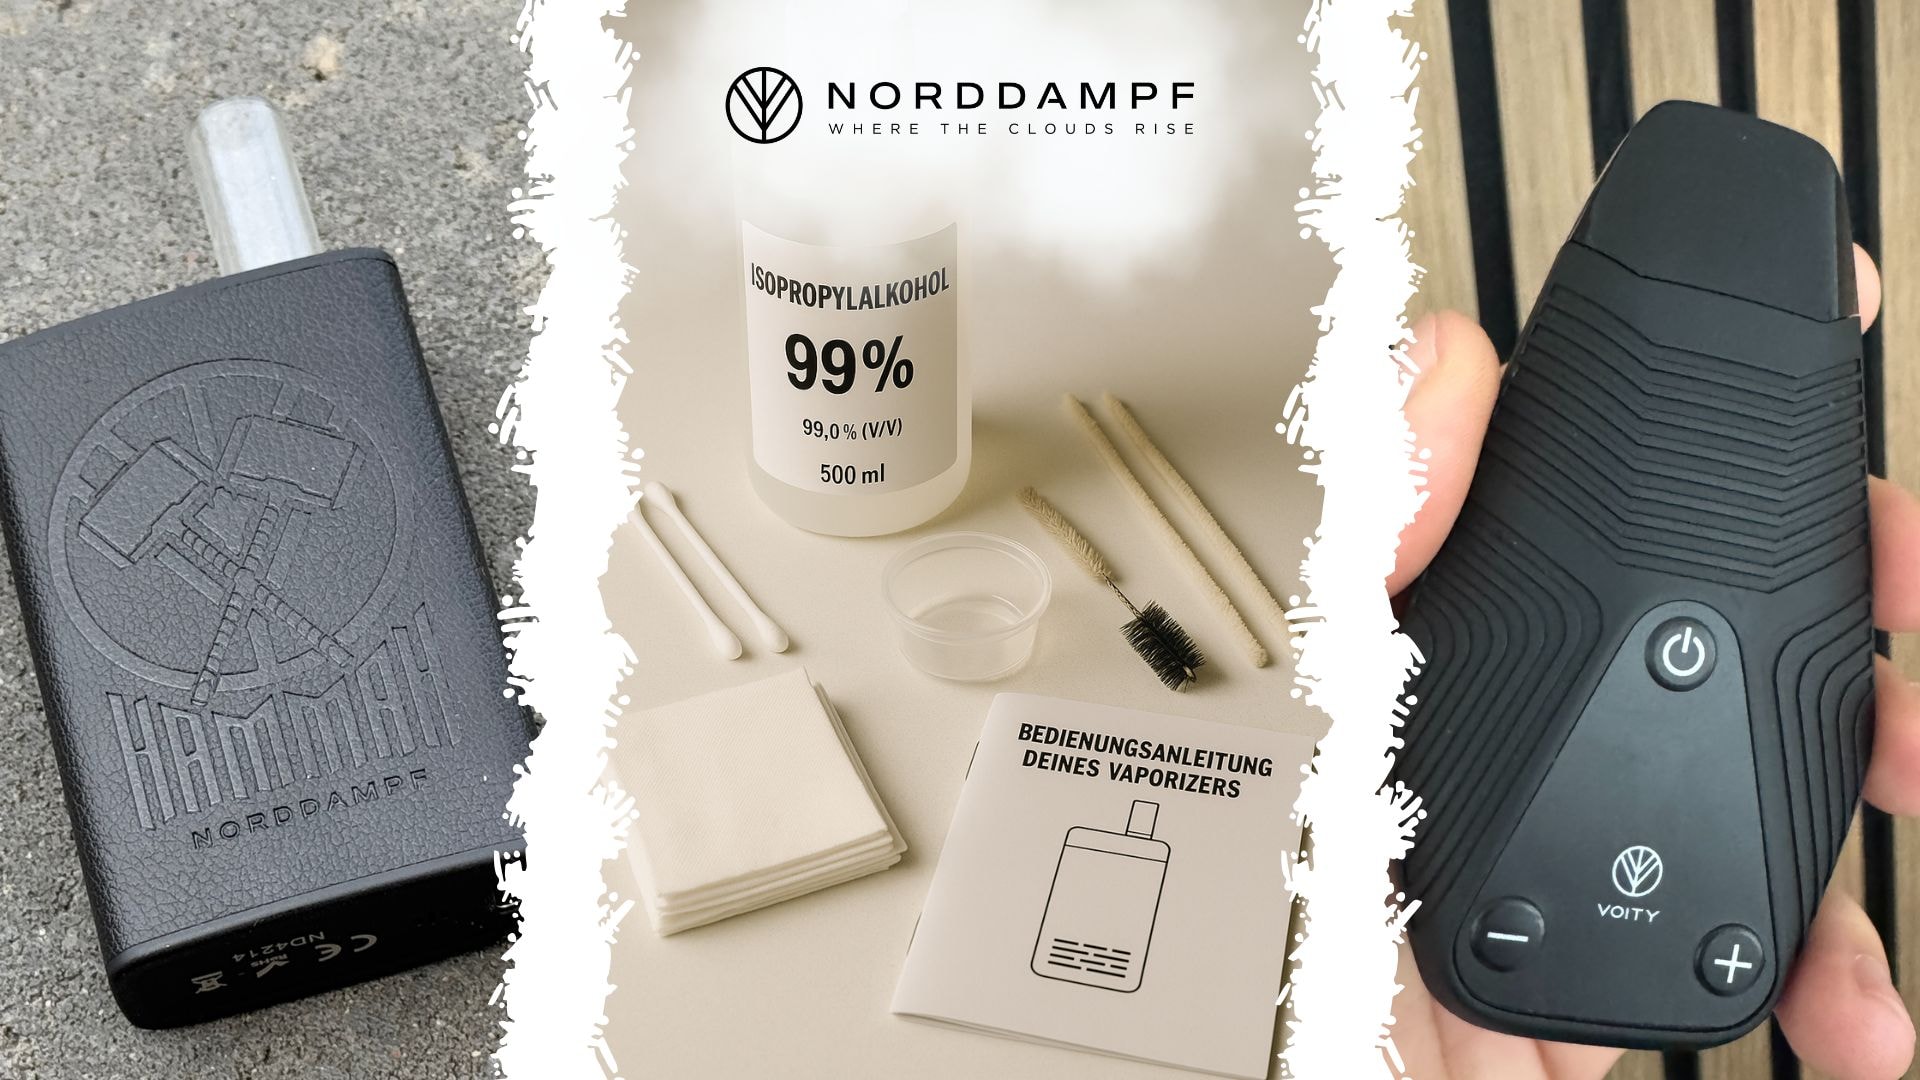
Preparation: What you need
Before you start cleaning, make sure you have the following items ready:
- Isopropyl alcohol (99%) or an alternative cleaning agent
- Cotton swabs and lint-free cloths
- Pipe cleaners or small brushes
- Small containers for soaking
- The user manual for your vaporizer (if available)
- Clean work surface with good lighting
Step 1: Allow the vaporizer to cool down and disassemble it
- Ensure that your vaporizer has cooled down completely to avoid burns.
- Turn off the device and disconnect it from the power supply.
- Disassemble your vaporizer into its individual parts as far as possible. The operating instructions provided by vaporizer manufacturers often contain information about which parts are removable.
- Lay out all the parts neatly on your work surface so that nothing gets lost.
Step 2: Removing coarse dirt
- Carefully tap out the heating chamber to remove any loose residue.
- Use a small brush to loosen more stubborn particles.
- Carefully blow into airways and openings to remove dust and loose particles.
Step 3: Cleaning the heating chamber
The heating chamber is the heart of your vaporizer and requires special attention:
- Dip a cotton swab in isopropyl alcohol and carefully wipe the inside of the chamber.
- For stubborn stains, you can leave the cotton swab in the chamber for a short time to allow the alcohol to take effect.
- For hard-to-reach areas, use a pipe cleaner moistened with alcohol.
- Ensure that no liquid gets into electronic components.
Step 4: Cleaning the mouthpiece and vapor path
- Glass or metal mouthpieces can be completely soaked in isopropyl alcohol.
- For mouthpieces made of plastic or with seals, use a cloth moistened with alcohol for cleaning.
- Clean the steam path with a pipe cleaner or a special cleaning brush.
- For heavy soiling, you can run isopropyl alcohol through the steam path (make sure that no alcohol gets into electronic parts).
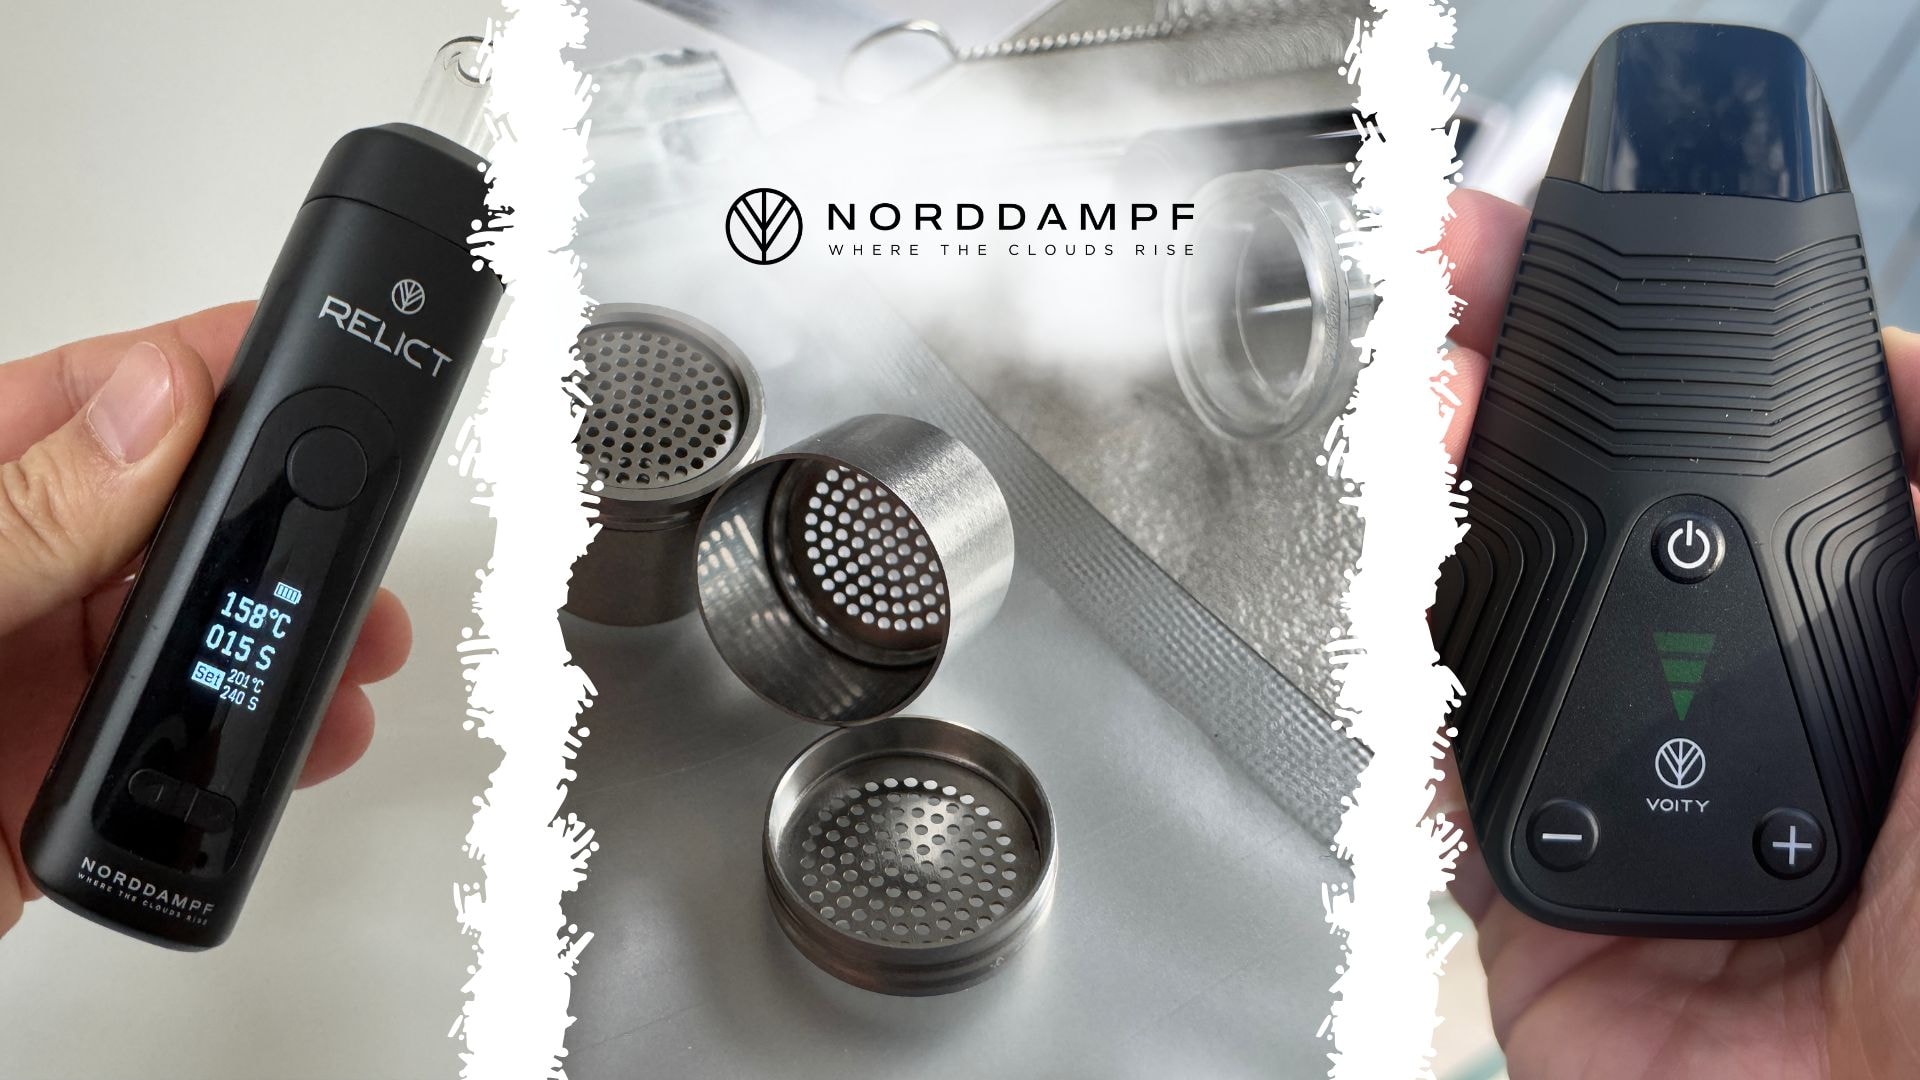
Step 5: Cleaning screens and filters
Screens and filters clog particularly quickly and should therefore be cleaned thoroughly:
- Carefully remove the screens from the device.
- Place them in a small container with isopropyl alcohol for 20-30 minutes.
- After soaking, gently brush off with a small brush.
- Rinse with clean water and allow to dry completely.
- If the screens are very dirty or damaged, you should replace them.
Step 6: Cleaning seals and O-rings
- Carefully wipe seals and O-rings with a slightly damp cloth.
- Avoid prolonged soaking in alcohol, as this can damage the material.
- Check the seals for cracks or deformations and replace them if necessary.
Step 7: Drying and assembly
- Allow all parts to dry completely in the air.
- For faster drying, you can use a hair dryer on a low setting.
- Ensure that there are no traces of alcohol left before reassembling the device.
- Reassemble the vaporizer in reverse order, ensuring that all parts are correctly positioned.
Step 8: Test run
- Perform a brief test run without herbs to ensure that all alcohol residues have evaporated.
- Heat the vaporizer for 1-2 minutes at medium temperature.
- Be on the lookout for unusual smells or noises that could indicate problems.
Tips for efficient cleaning
- Consistency is key: the more often you clean, the easier it becomes each time.
- Be patient: Let cleaning agents work instead of scrubbing and possibly damaging surfaces.
- Document the disassembly process: Take photos during disassembly to make reassembly easier.
- Clean after use: A quick clean immediately after use, while the appliance is still slightly warm, makes it easier to remove any residue.
- Collect the resin: If you want to collect the resin that has been dissolved during cleaning, save the alcohol you used (more on this in the section on resin extraction).
With these step-by-step instructions, you can clean your vaporizer in no time and ensure an optimal vaping experience. In the next section, we will discuss the specifics of cleaning different materials.
Material-specific cleaning tips: The right care for every type of vaporizer
Not all vaporizers are the same, and different materials require different cleaning methods. In this section, you will learn how to clean the various components of your vaporizer in a manner appropriate for the material in order to prevent damage and maximize its service life.
Cleaning metal parts
Metal components such as heating chambers, lids, and sieves are usually the easiest to clean:
- Suitable cleaning agents: Isopropyl alcohol is ideal for metal parts and can be used without hesitation.
- Soaking method: For heavy soiling, metal parts can be soaked in isopropyl alcohol for 30-60 minutes without any problems.
- Mechanical cleaning: For stubborn residues, you can use a soft toothbrush or a pipe cleaner.
- Special features: When cleaning coated metal parts, be careful not to scrub too hard so as not to damage the coating.
Metal parts are usually very robust, but here too, gentle methods are always better than aggressive scrubbing.
Cleaning glass and ceramic parts
Glass and ceramic components such as mouthpieces or special heating chambers offer a pure taste experience, but require special care:
- Suitable cleaning agents: isopropyl alcohol, warm water with a little washing-up liquid, or special glass cleaners for vaporizers.
- Soaking method: Glass and ceramic parts can be soaked in isopropyl alcohol without any problems, even overnight.
- Precautions: Handle these parts with care, as they are fragile. Avoid rapid temperature changes, which can cause cracks.
- Special tips: For stubborn stains, a mixture of isopropyl alcohol and coarse-grained salt can serve as a gentle scouring agent. Shake the parts gently in a sealed container.
An unsightly white coating may appear on glass and ceramic elements, but this can be easily removed using the methods described above.
Cleaning plastic parts
Plastic components such as some mouthpieces, cooling units, or housing parts require special care:
- Suitable cleaning agents: Mild solutions such as diluted isopropyl alcohol or warm water with very little soap or dishwashing detergent.
- Precautions: Avoid prolonged soaking in pure isopropyl alcohol, as this may damage some plastics.
- Cleaning method: Use a cloth or cotton swab lightly moistened with cleaning agent and wipe the parts carefully.
- Important note: Always test new cleaning agents on an inconspicuous area first to avoid discoloration or damage.
When it comes to plastic parts, less is often more—use only as much cleaning agent as is absolutely necessary.
Special care with wooden elements
Wooden elements give vaporizers a special character, but also require special care:
- Important: Do not use isopropyl alcohol or other solvents to clean wooden vaporizer elements!
- Suitable cleaning agents: Slightly damp cloth, special wood cleaner, or very diluted vinegar and water solution.
- Cleaning method: Gently wipe the surface; do not allow moisture to penetrate the wood.
- Care: After cleaning, a food-safe wood oil can be used to protect and maintain the wood.
Wood is a living material and is sensitive to moisture and aggressive cleaning agents. Treat it with special care.
Cleaning seals and O-rings
Seals and O-rings are often small but crucial components that deserve special attention:
- Suitable cleaning agents: Warm water, very mild soap solution, or a slightly damp cloth.
- Precautions: Avoid isopropyl alcohol, as it can cause rubber seals to become brittle over time.
- Cleaning method: Gently wipe clean, do not scrub or soak.
- Care: After cleaning, seals can be lightly rubbed with food-safe silicone oil or glycerin to keep them supple.
Pay particular attention to cracks or deformations—damaged seals should be replaced immediately to maintain the functionality of the vaporizer.
Electronic components
Extreme caution is required when handling electronic components:
- Basic rule: Never immerse electronic components in liquids!
- Suitable cleaning method: Slightly damp (not wet) microfiber cloth or cotton swab.
- Precautions: Ensure that the device is switched off and disconnected from the power supply.
- Special areas: Pay particular attention to connections and contacts—dirt can accumulate here and impair functionality.
If you are unsure, always consult the manufacturer's operating instructions or contact customer service.
With these material-specific tips, you can ensure that every part of your vaporizer receives optimal care. In the next section, we will show you how to extract and reuse valuable resin during cleaning.
Cleaning vaporizers and extracting resin: Utilizing valuable residues
Cleaning your vaporizer not only results in a clean device—you can also recover and reuse valuable resin (also known as "reclaim"). In this section, we'll show you how to collect resin when cleaning your vaporizer and put it to good use.
What is Reclaim and why is it valuable?
Reclaim is the resinous condensate that accumulates in the vapor paths, mouthpieces, and cooling units of your vaporizer. It still contains a considerable amount of active ingredients that were not completely inhaled during vaporization. Simply throwing this material away would be a waste—the more you take care of cleaning your vaporizer, the more riches you can collect!
Step-by-step guide to resin extraction
Method 1: Isopropyl alcohol extraction
This method is particularly suitable for heavily soiled parts and delivers the highest yield:
- Preparation: Place all dirty parts of your vaporizer (mouthpiece, cooling unit, screens) in a clean glass container.
- Soaking: Pour in enough isopropyl alcohol (99%) to cover all parts.
- Removing residue: Shake the container gently or leave it to stand for about an hour so that all resin residue can be removed.
- Remove parts: Take out the cleaned parts, rinse them with clean water, and let them dry.
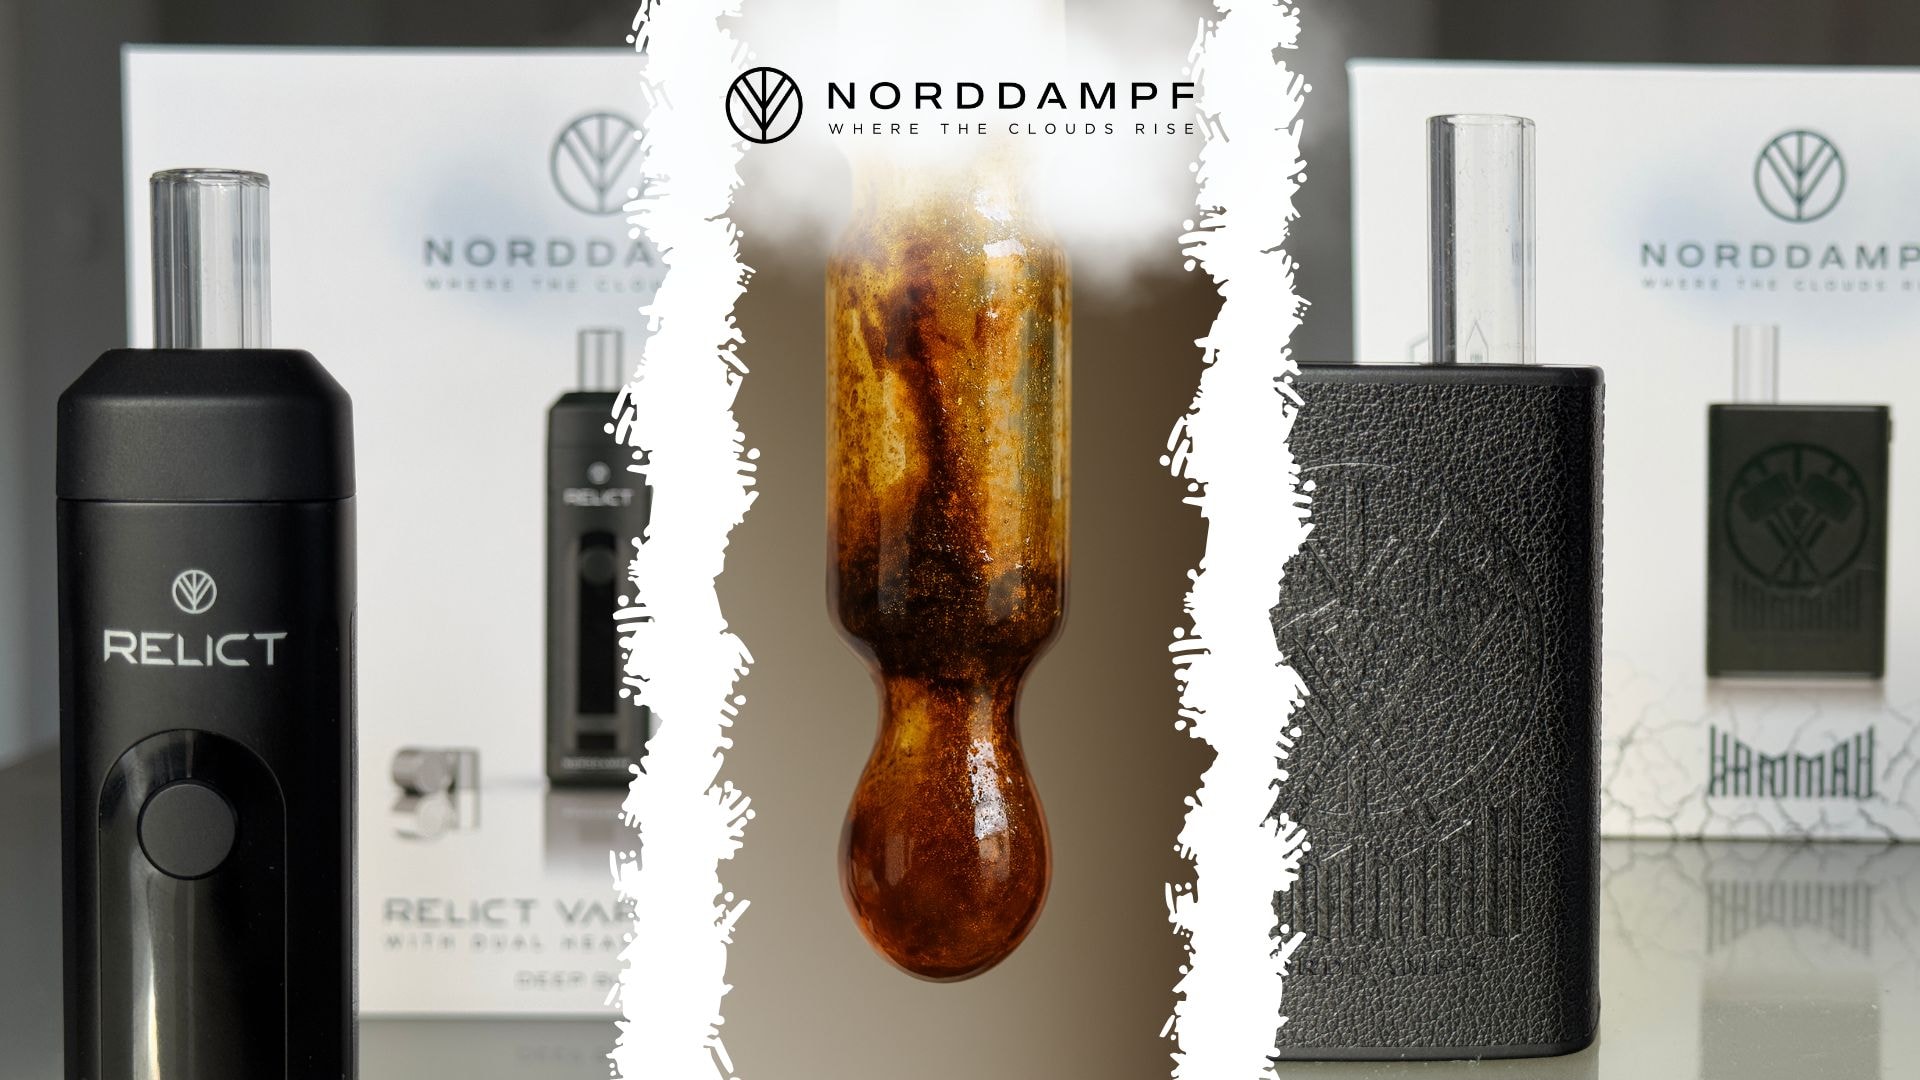
- Evaporation: Pour the now brown-colored alcohol solution into a shallow glass dish or onto a plate and allow the alcohol to evaporate completely in a well-ventilated area (ideally outdoors). Depending on the quantity, this can take 1-7 days.
- Harvest: After complete evaporation, a resinous substance rich in active ingredients remains, which you can carefully scrape off with a metal or glass tool (not plastic).
Method 2: Direct collection (scraping)
For fast results without solvents:
- Preparation: Warm the dirty parts slightly (e.g., with a hair dryer) to soften the resin.
- Scraping: Use a metal or glass tool (e.g., a small spatula or a bent paper clip) to carefully scrape off the resin.
- Collect: Collect the scraped resin on a clean surface.
This method is faster but generally yields less than isopropyl alcohol extraction.
Method 3: Milk extraction (for glass parts)
A popular method, especially for glass mouthpieces:
- Preparation: Heat whole milk in a small saucepan (do not boil).
- Soaking: Place the dirty glass items in the hot milk and leave them there for about 15-20 minutes.
- Stirring: Stir gently from time to time to dissolve the resin in the milk.
- Removing parts: Take out the parts, rinse them with warm water, and clean them as usual.
- Use: The milk, now enriched with active ingredients, can be mixed with cocoa or coffee and consumed.

Possible uses for the extracted resin
The recovered resin has a wide range of uses:
- Re-vaporization: The resin can be re-vaporized in a vaporizer suitable for concentrates.
- Mixing with fresh material: A small amount of reclaim can be placed between layers of fresh material in the heating chamber.
- Oral intake: Since the material has already been decarboxylated (by prior heating in the vaporizer), it can be taken orally, e.g., mixed with food.
Tips for maximum resin yield
- Regular cleaning: Paradoxically, more frequent cleaning leads to better quality resin, as it has less time to oxidize.
- Note temperature settings: Lower vaporization temperatures often lead to more condensation in the vapor paths and thus to more collectable resin.
- Prefer glass parts: Resin can be removed more easily and completely from glass surfaces than from other materials.
- Storing alcohol: You can collect the isopropyl alcohol from several cleaning processes to increase the resin concentration before allowing it to evaporate.
Harvesting resin when cleaning your vaporizer is not only economically sensible, but also sustainable, as you get the most out of your material. With these methods, regularly cleaning your vaporizer becomes a worthwhile investment!
Conclusion: Cleaner vaporizer, better vaping experience

Regularly cleaning your vaporizer is not a chore, but a worthwhile investment in flavor, performance, and longevity. With the methods and tips presented in this guide, caring for your device becomes a simple routine that pays off in many ways.
The most important findings at a glance
- Regularity is key: a quick clean after each session prevents stubborn deposits and maintains the performance of your vaporizer.
- The right cleaning agents make all the difference: Isopropyl alcohol is ideal for most materials, but be aware of the specific requirements of wood, plastic, and seals.
- Cleaning in a way that's right for the material protects your investment: Different materials need different cleaning methods – with our tips, you can treat each part in the best way.
- Resin recovery as a bonus: Cleaning offers the opportunity to recover and reuse valuable resin—a sustainable approach that gets the most out of your material.
Your path to the perfect vaping experience
A clean vaporizer not only offers a better taste experience, but also works more efficiently and lasts longer. By incorporating the cleaning methods described in this guide into your routine, you can ensure that your device always performs at its best. Whether you are a complete novice in the world of vaporizers or have many years of experience, proper care of your device is the key to a consistently high-quality vaping experience. With our tips, cleaning will become an easy and rewarding part of your vaporizer use.
Our product recommendations for optimal cleaning
For an optimal cleaning experience, we recommend a few selected products:
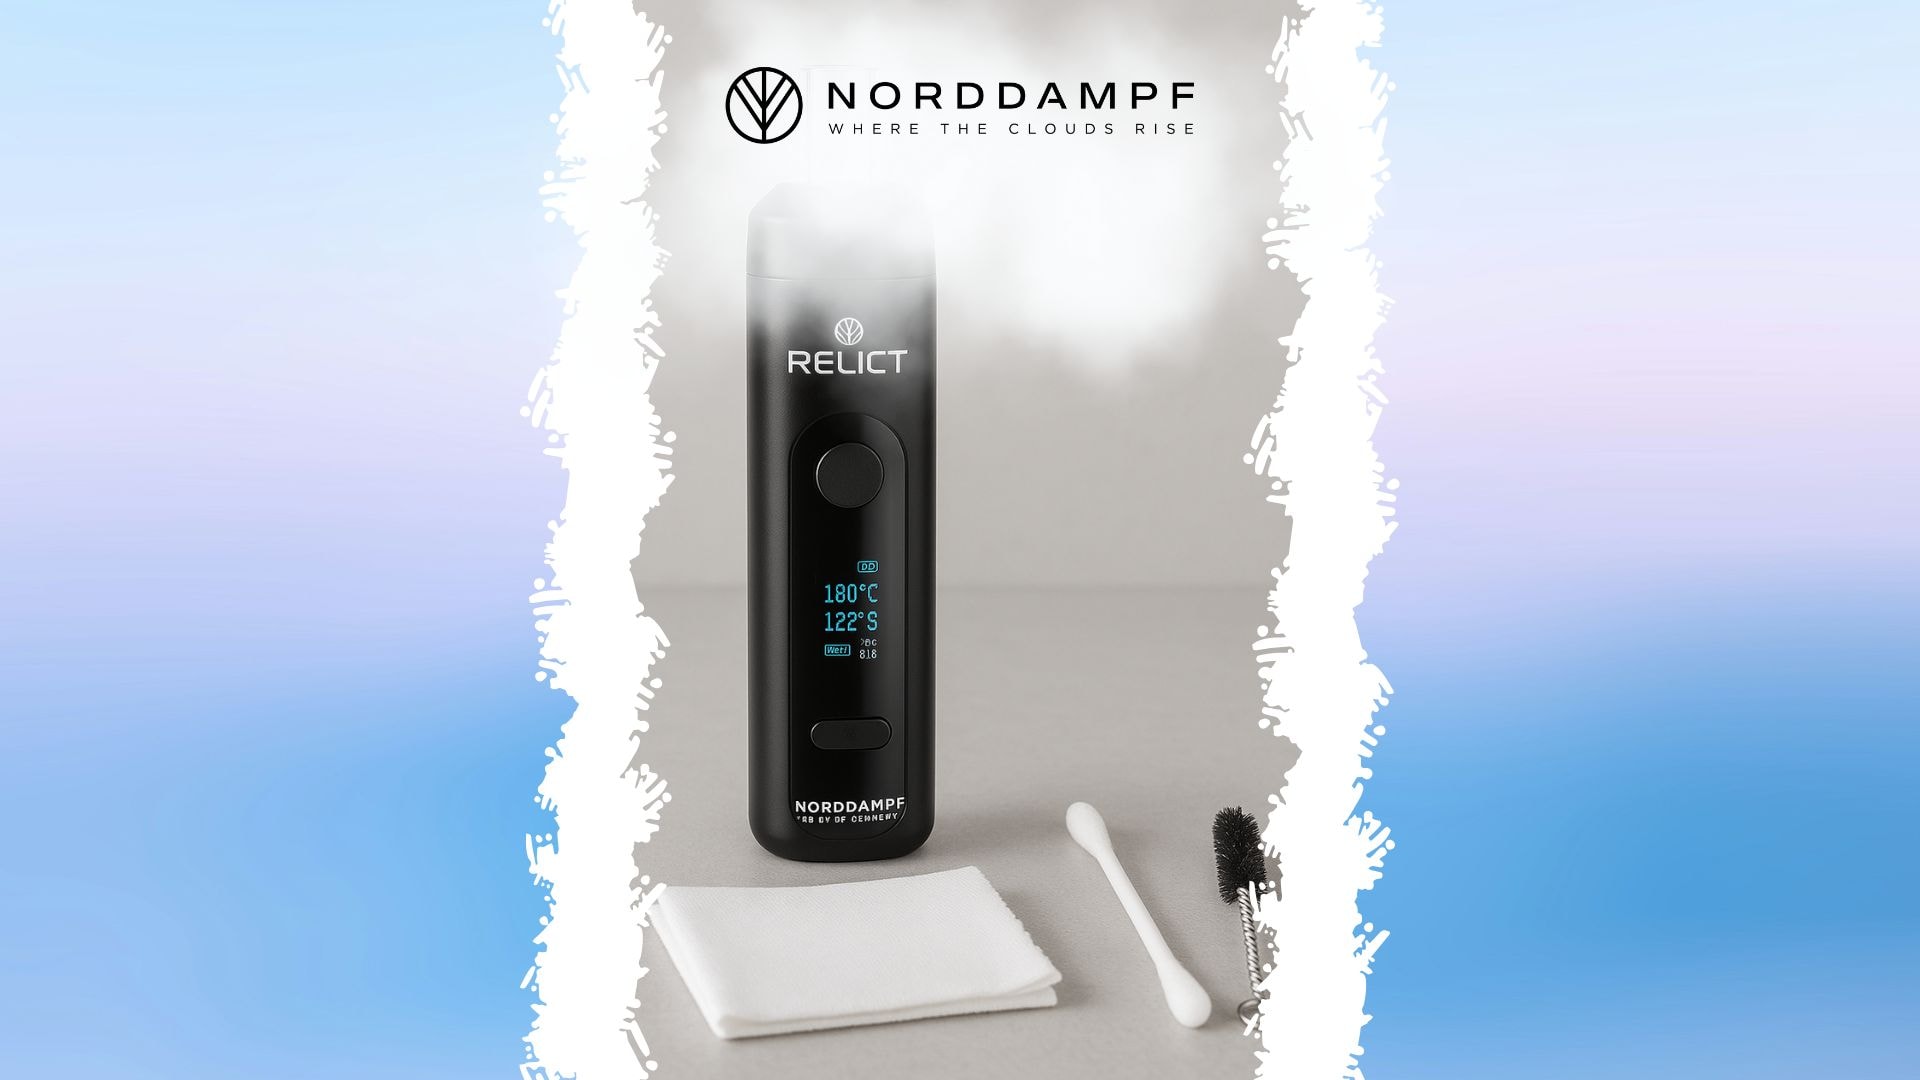
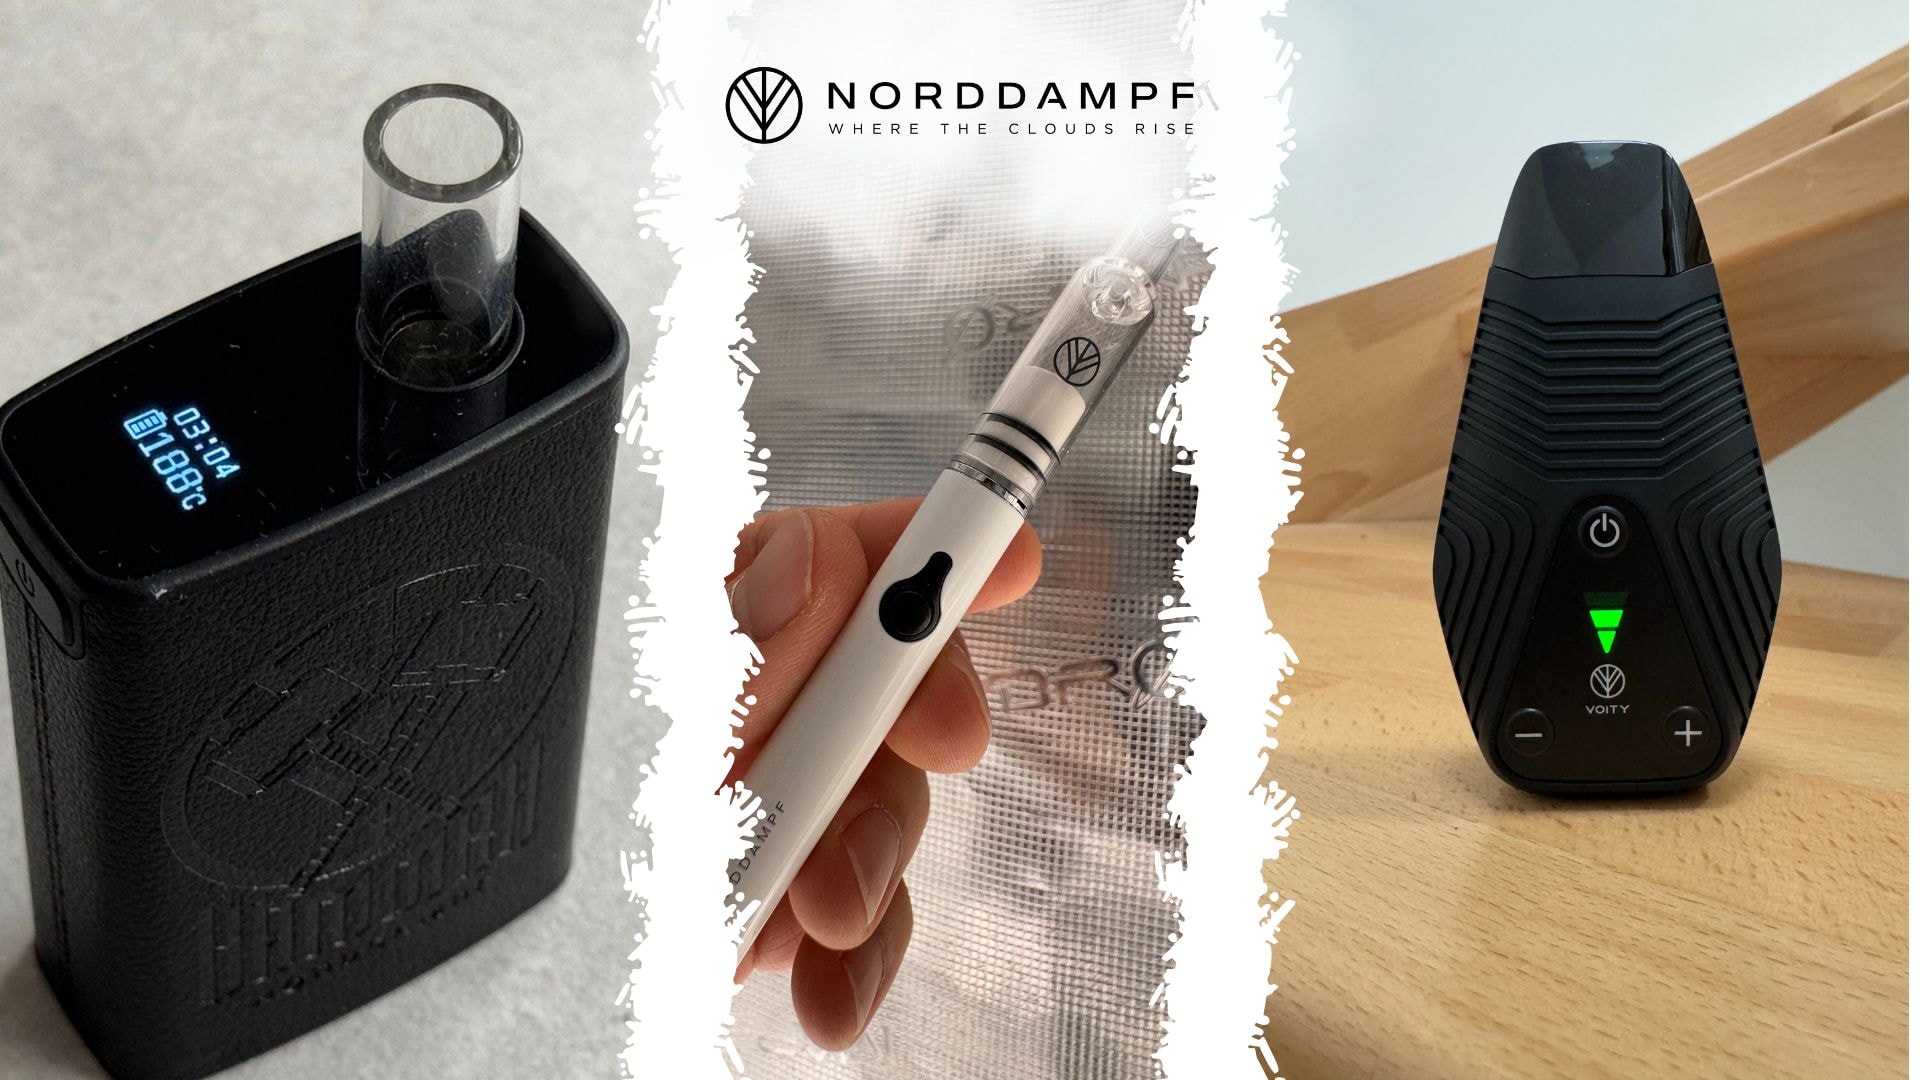
- Norddampf Relict : With its sophisticated design, it is particularly easy to clean and offers an excellent vaping experience.
- Hammah : Another high-quality product from our range that impresses with its easy-to-clean design.
For more information about vaporizers and how to care for them, visit our informative blog posts:
- Convection vs. conduction – what is the difference?: Learn more about the different heating technologies and their effects on cleaning.
- Vaporizers for beginners: The ultimate beginner's guide 2025: Comprehensive information for beginners to the world of vaporizers.
- Herbs for vaporizers: The best herbs for vaporizing: Discover which herbs are particularly well suited for vaporizing.
We hope this guide helps you to maintain your vaporizer optimally and enjoy the best possible vaping experience. If you have any questions, we are always available to help—visit us at norddampf.com or stop by our vaporizer shop. For more independent information and reviews, we also recommend visiting vaporizer-review.de, where you can find additional expert opinions and comparisons. Enjoy your clean vaporizer and the perfect vaping experience!
FAQ: Frequently asked questions about vaporizer cleaning
In this section, we answer the most frequently asked questions about cleaning vaporizers. From home remedies and cleaning frequency to resin extraction—here you will find all the important information summarized in a compact form.
Can I clean my vaporizer in the dishwasher?
No, absolutely not! The high temperatures and aggressive cleaning agents in the dishwasher can damage electronic components and even deform plastic parts. Caution is also advised with glass parts, as these can be damaged by the mechanical stress in the dishwasher. Always clean your vaporizer by hand using the methods described in this article.
How do I clean a vaporizer without alcohol?
If you don't want to or can't use isopropyl alcohol, there are a few alternatives: – For glass and metal parts: A solution of warm water and a little dish soap. Soak the parts for 15-20 minutes and then clean them with a soft brush. – For wooden elements: A slightly damp cloth or a very diluted vinegar and water solution. – For stubborn dirt: A paste made from baking soda and water can serve as a gentle scouring agent. Note that these alternatives are often not as effective as isopropyl alcohol, especially for stubborn resin residues.
How often do I need to clean my vaporizer?
The optimal cleaning frequency depends on how often you use it: – For daily use: A quick clean after each session and a more thorough clean about once a week. – For occasional use: A quick clean after each session and a more thorough clean every 2-3 weeks. – Before prolonged non-use: Always perform a thorough clean before storing your vaporizer for an extended period of time to prevent mold growth.
Also watch out for warning signs such as a change in taste, reduced vapor production, or increased draw resistance—these indicate that cleaning is due.
Can I substitute isopropyl alcohol with something else?
Yes, there are several alternatives to isopropyl alcohol, but they vary in effectiveness: – High-proof alcohol ( vodka, methylated spirits): Less effective than isopropyl alcohol, but sufficient for light soiling. – Special vaporizer cleaners: Commercial products that have been specially developed for cleaning vaporizers. – Vinegar and water solution: Good for light soiling and particularly suitable for wooden elements. However, isopropyl alcohol remains the first choice for the most effective cleaning.
How do I clean a new vaporizer before using it for the first time?
Before using your new vaporizer for the first time, you should "burn it in": 1. Disassemble the vaporizer as far as possible and rinse all removable parts with warm water. 2. Dry all parts thoroughly and reassemble the vaporizer. 3. Run 2-3 heating cycles without any material at maximum temperature to vaporize any production residues. 4. Allow the vaporizer to cool down between cycles. This process removes production residues and ensures a pure taste experience right from the start.
How do I clean the wooden parts of my vaporizer?
Wooden elements require special care: 1. Never use isopropyl alcohol or other solvents on wooden parts. 2. Clean wooden elements with a slightly damp cloth or a very diluted vinegar and water solution. 3. Wipe the surface gently without soaking the wood. 4. After cleaning, a food-safe wood oil can be used to protect and care for the wood. Wood is a natural material and is sensitive to moisture and aggressive cleaning agents.
Can I collect and reuse resin during cleaning?
Absolutely! The resin obtained during cleaning (reclaim) still contains valuable active ingredients and can be reused: 1. Collect the isopropyl alcohol you used for cleaning in a shallow bowl. 2. Allow the alcohol to evaporate completely (this may take several days). 3. The remaining resin can be vaporized again in a vaporizer suitable for concentrates or mixed with fresh material. Detailed instructions on resin extraction can be found in the relevant section of this article.
Why is the taste of my vaporizer deteriorating?
There are several reasons why the taste may deteriorate: – Dirty vapor paths: Residues from previous sessions affect the taste of new herbs. – Clogged screens: Reduce airflow and can lead to uneven heating. – Worn seals: Can affect the taste and should be checked regularly. – Excessive temperatures: Can lead to a "burnt" taste, even if the material is not actually burning. Regular cleaning and inspection of all components ensure a consistently good taste experience.
How do I clean my vaporizer when I'm on the go?
The following methods are suitable for cleaning on the go: – Cleaning wipes with isopropyl alcohol: Pre-moistened wipes are practical for on the go. – Pipe cleaners: Take up little space and are ideal for quick cleaning of the vapor path. – Small travel brush: Helps remove loose residue from the heating chamber. – Transport container for dirty parts: If immediate cleaning is not possible, store dirty parts in an airtight container until you can clean them thoroughly. Complete cleaning is often not possible on the go, but these measures help to maintain functionality.
How long should I soak the parts in isopropyl alcohol?
The optimal soaking time depends on the degree of soiling and the material: – Light soiling: 15-30 minutes is usually sufficient. – Heavy soiling: 1-2 hours or, for particularly stubborn residues, even overnight. – Plastic parts: Maximum 30 minutes to avoid damage. – Glass and metal parts: Can be soaked for longer without any problems. After soaking, always rinse thoroughly with clean water and allow to dry completely before reassembling the parts. These answers should clarify the most common questions about cleaning vaporizers. If you have any further questions, please do not hesitate to contact us or take a look at our other vaporizer guides.
Do you have further questions about cannabis use or would you like to find out more about vaporizers? At Norddampf , you will not only find high-quality products, but also a community of people who are happy to share their experiences.
Disclaimer: This article is for informational purposes only. We do not provide instructions on how to consume cannabis and do not encourage illegal activities. The contents do not replace medical advice. If you have health questions, consult a doctor. Find out about the current legal situation in your country. Everyone acts on their own responsibility—we accept no liability. For adults over 18 only.